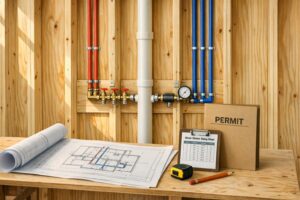
Frozen pipes can cause costly damage if not addressed quickly. Here’s what you need to know:
- Signs of Frozen Pipes: Reduced water flow, frost on pipes, bulging sections, or unusual noises.
- Immediate Actions: Shut off the main water valve, open faucets to relieve pressure, and turn off electricity in affected areas to avoid hazards.
- Safe Thawing Methods: Use a hair dryer, heating pad, or hot towels. Avoid open flames or risky DIY fixes.
- When to Call an Emergency Plumber: If pipes remain frozen after 45 minutes of heating, show visible damage, or if leaks are near electrical outlets.
Prevention Tips:
- Insulate pipes in unheated areas.
- Seal gaps around pipes to block cold air.
- Keep indoor temperatures above 55°F and let faucets drip during extreme cold.
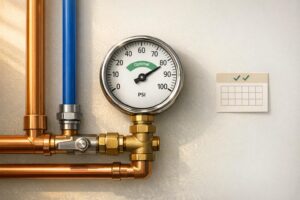
Acting quickly can save you from repairs costing $500–$5,000 or more. Stay prepared to protect your home from freezing temperatures.
How to Thaw and Prevent Frozen Water Pipes
sbb-itb-5fe396b
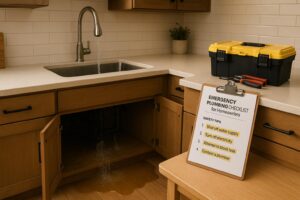
First Steps for Safety and Damage Control

Emergency Response Steps for Frozen Pipes
How to Identify Frozen Pipes
A telltale sign of frozen pipes is a noticeable drop in water flow. If you turn on a faucet during freezing weather and only a trickle – or no water at all – comes out, there’s a good chance the pipe is frozen. As the Philadelphia Water Department explains, "The first sign of freezing is reduced water flow from a faucet". To confirm, check other faucets in your home. If the issue is consistent across all of them, frozen pipes may be the culprit.
You can also inspect areas like basements, attics, garages, and crawl spaces for signs of freezing. Look for frost on pipes, bulging sections, strange sounds like gurgling or banging, or even sewer-like odors from drains. These are all red flags. If you’re unsure, touch the pipes – frozen ones will feel much colder than usual. For hidden issues, a camera inspection can pinpoint blockages or damage within the line.
Before assuming the problem is isolated to your home, check in with a neighbor. If their water is running fine, the issue is likely within your property and not related to a city water main problem. Once you’ve confirmed a pipe is frozen, keep the affected faucet open. This helps relieve pressure and allows water to flow as the ice starts to melt.
Turn Off the Main Water Valve
Once frozen pipes are identified, quick action is crucial to minimize damage. Start by locating and shutting off your main water valve. This step is essential to prevent flooding when the ice thaws, as pressurized water can burst through weakened pipes. It also helps control the dangerous pressure buildup that can occur.
Your main shut-off valve is usually found in areas like the basement, crawl space, utility closet, or under the kitchen sink. If it’s located outside, it might be in a meter pit near the street, which could require a special tool to access. Be sure to label the valve so it’s easy to find in an emergency.
After closing the valve, open all the hot and cold faucets in your home. This drains any remaining water and gives melting ice a safe escape route, reducing pressure on the pipes. It’s also a good idea to periodically test your shut-off valve to make sure it’s in working condition and not stuck or rusted.
Shut Off Power in Affected Areas
Once the water flow is stopped, turn your attention to electrical safety. If you suspect a frozen or leaking pipe, it’s critical to cut off electricity in any room where water is present. This helps prevent electrical shocks or potential fires, as water and electricity are a dangerous combination.
Head to your main breaker panel and turn off the circuits for the affected areas. Move any electrical appliances away from potential water exposure, and unplug them if possible. Avoid using items like hair dryers, heat lamps, or space heaters in damp areas – they can be hazardous.
As Liam Cope, Founder of Engineer Fix, points out, "Turn off the electricity to the affected area if the leak is near any outlets or appliances to avoid electrical hazards". If the frozen pipe is near or behind an electrical outlet, don’t attempt a DIY fix. Call a professional plumber to handle the situation safely.
Taking these steps will help you manage the immediate risks and set the stage for safely thawing the pipe.
How to Thaw Frozen Pipes Safely
Thawing Pipes You Can Reach
If you’re dealing with frozen pipes you can access, an electric hair dryer is one of the safest tools to use. The Ithaca Fire Department recommends this method, stating, "Homeowners who experience a frozen pipe can try to thaw the line safely by using a hair dryer. Thawing won’t be fast, but it will be safe." Set the hair dryer to high, hold it a few inches from the pipe, and move it back and forth evenly over the frozen section. Be patient – this process can take 30 to 45 minutes.
Start at the faucet and work your way back toward the frozen area. This allows steam and melted water to flow out as you go. Other safe options include wrapping the pipe with hot, damp towels or using an electric heating pad.
For pipes located in unheated areas like basements or garages, a portable space heater can help warm the room. However, always follow safety precautions: keep the heater away from flammable materials, avoid placing it near walls, and never leave it unattended. The American Red Cross warns against using open flames, such as blowtorches or kerosene heaters, as these can damage pipes and pose serious fire risks.
Thawing Pipes Behind Walls or in Crawl Spaces
When dealing with pipes hidden behind walls or in crawl spaces, start by opening cabinet doors under sinks or along exterior walls. This allows warm air from your home to circulate around the pipes. Keeping your thermostat set to a consistent temperature, even overnight, can also make a big difference.
In unheated spaces, a space heater can be used to gradually warm the area. If you can access the pipe directly, try an infrared heat lamp. Position aluminum foil or sheet metal behind the pipe to reflect heat toward it. Always leave the faucet open while thawing so that melting ice has a way to escape. If you can’t reach the pipe or the blockage persists, it’s time to call a professional.
Checking Progress While Thawing
As you work to thaw the pipe, keep the faucet open. When the ice starts to melt, you’ll notice water trickling out. This is a good sign – it relieves pressure that could otherwise cause the pipe to burst. Continue applying heat until the water flow returns to normal, indicating the blockage is fully cleared.
Once you’ve thawed one pipe, check other faucets throughout your home. Frozen pipes often affect multiple areas, especially if they’re close together. After thawing, keep an eye on the pipes for any signs of leaks, as freezing can sometimes cause small cracks or other damage.
When to Call a Plumber
Warning Signs You Need Professional Help
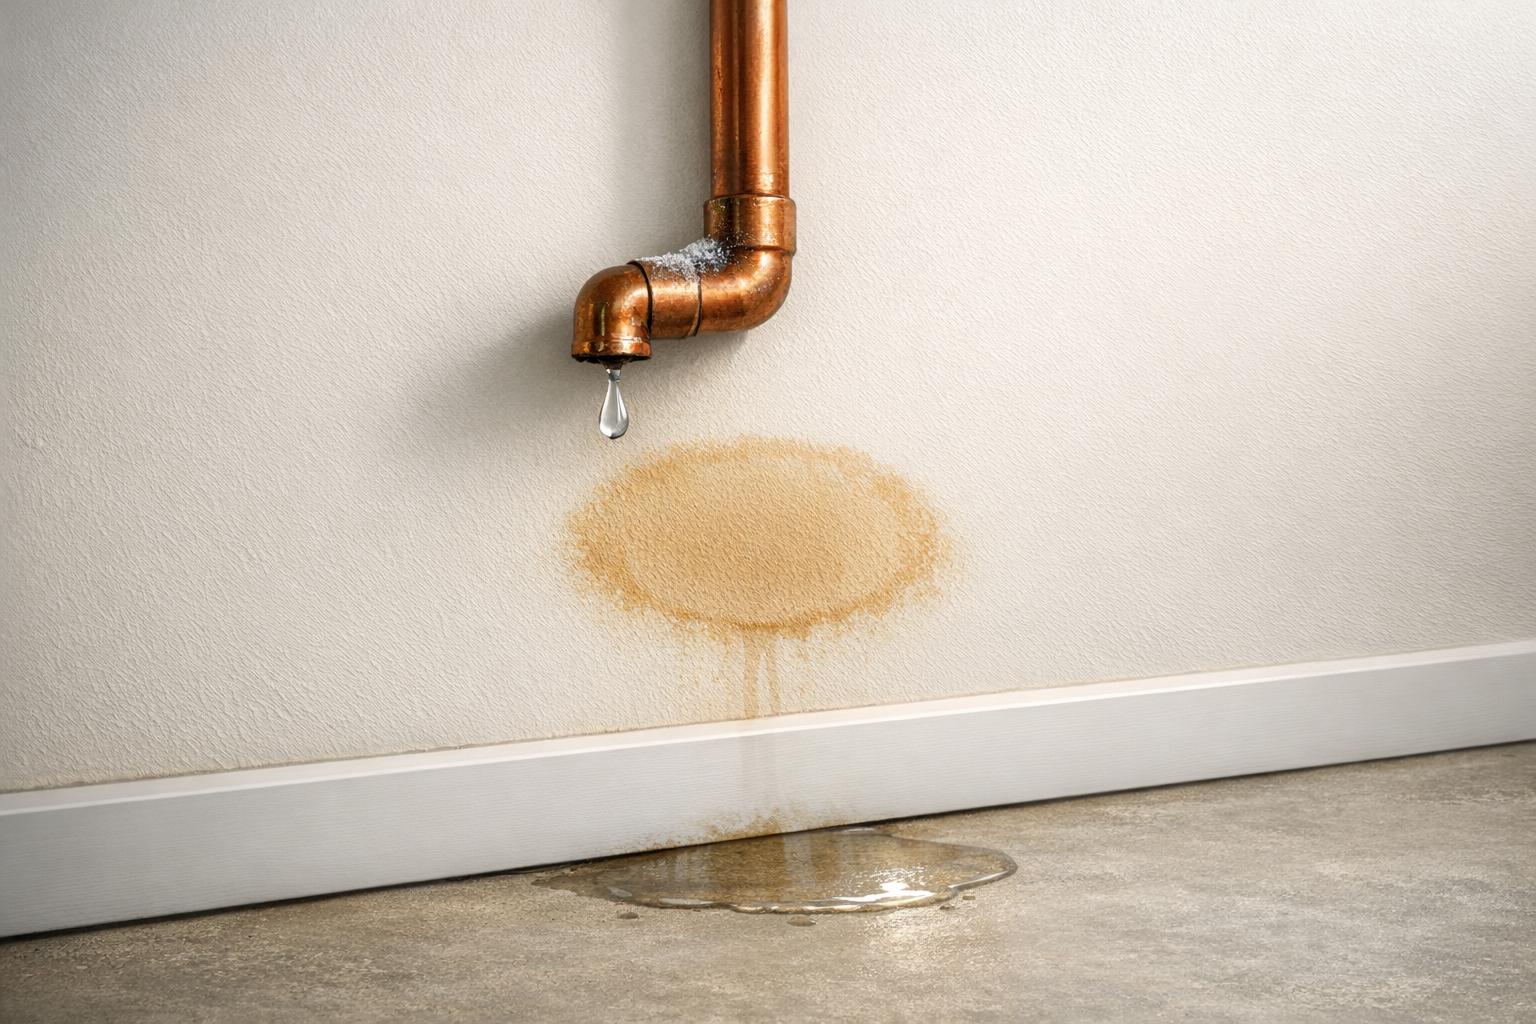
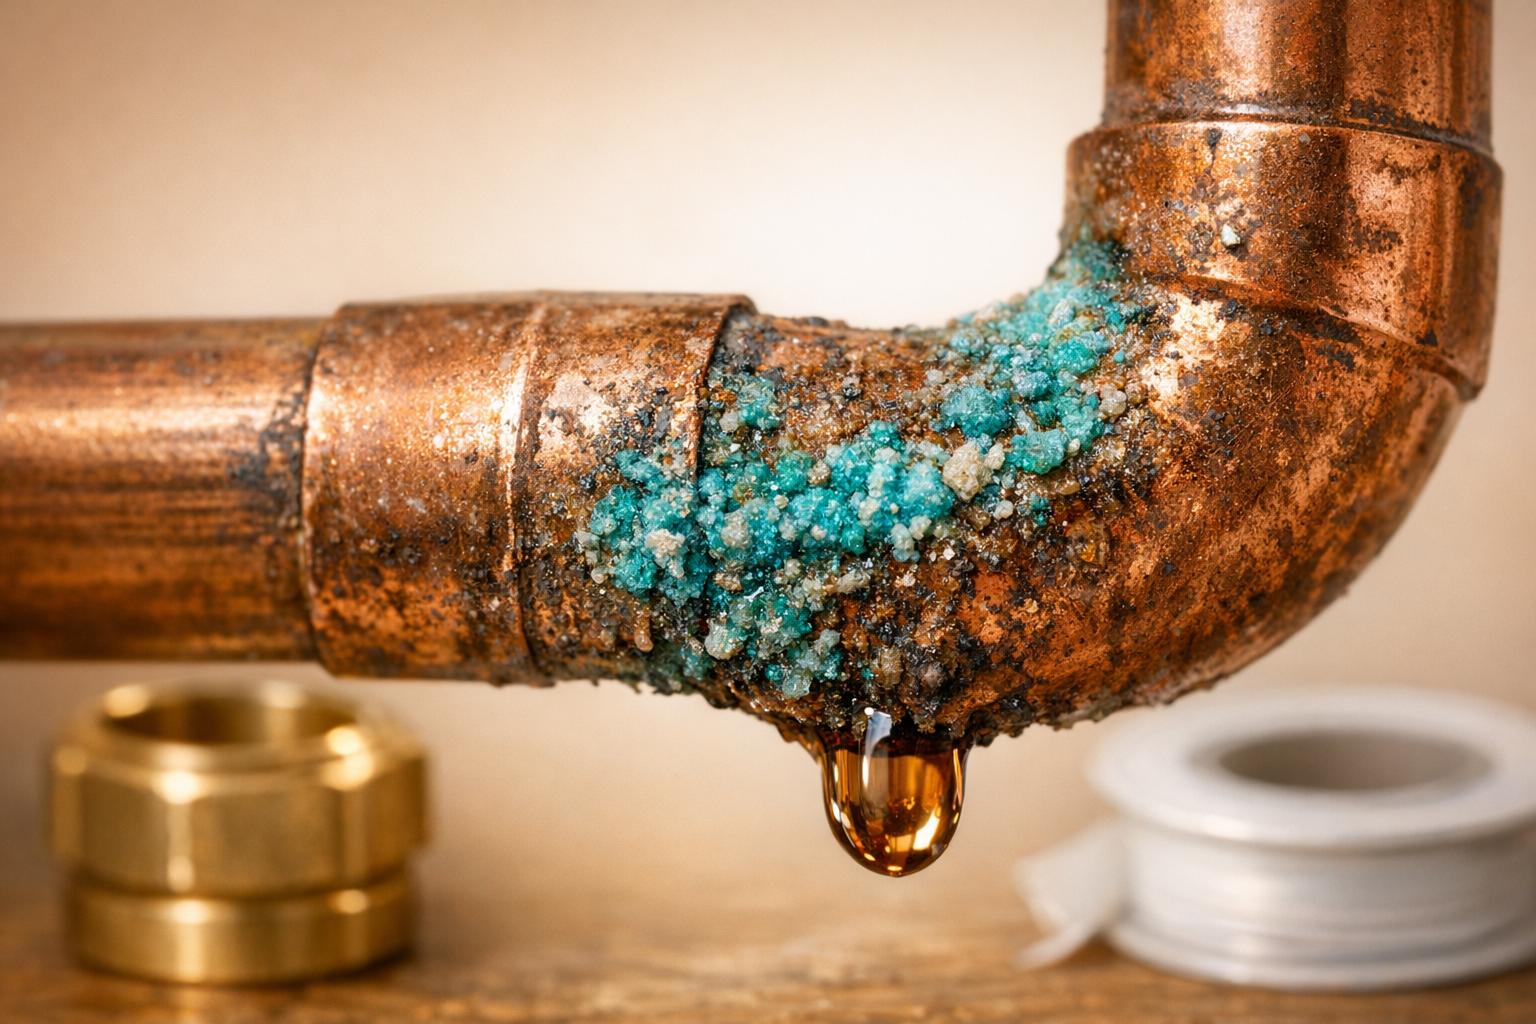
Some frozen pipe issues go beyond what you can handle on your own. If you’ve been applying heat for 30–45 minutes and water still isn’t flowing, the blockage could be too severe for household tools to fix. You should also stop any DIY efforts immediately if you notice visible damage, such as bulging, cracks, or leaks in the pipes – these are red flags that a burst is either imminent or has already occurred.
Pay attention to signs like water stains on walls, bubbling paint, or puddles near baseboards. These can indicate a ruptured pipe that needs immediate professional repair. Strange noises, such as banging, clanking, or the sound of rushing water behind walls, might point to ice blockages or hidden leaks. Additionally, if your water pressure suddenly drops during cold weather, it’s another sign that something is wrong.
Safety concerns should never be ignored. If water is near electrical outlets or panels, stop trying to fix the problem yourself and call a plumber right away. Similarly, if you detect a foul sewage odor or a "rotten egg" smell, it could mean a frozen sewer line or contaminated water from a burst pipe.
"If you are unable to locate the frozen area, if the frozen area is not accessible, or if you can not thaw the pipe, call a licensed plumber" – American Red Cross
If any of these signs appear, it’s time to bring in a professional.
What Professional Plumbers Can Do
When these warning signs persist, it’s crucial to act quickly and call in a plumber. Professionals have tools and expertise that go beyond what’s available to homeowners. They use advanced equipment like electronic leak detectors to find hidden ruptures behind walls or under floors. Additionally, specialized thawing equipment can safely restore water flow without causing further damage. Once the pipes are thawed, plumbers will inspect the affected areas for any damage or leaks before restoring full water pressure.
Time is of the essence – burst pipes can release up to 8 gallons of water per minute, and mold can start growing within just 24 hours of water exposure.
For fast and reliable help, companies like Round Rock Plumbing offer 24/7 emergency services. They use advanced leak detection and thawing methods to resolve frozen pipe issues quickly and effectively. Knowing when to call for expert help can save you from costly damage.
How to Prevent Frozen Pipes
While immediate fixes can address emergencies, taking preventive measures is the best way to avoid frozen pipes in the future.
Insulate Pipes and Seal Gaps
Cover exposed pipes in unheated areas with foam or rubber sleeves to keep them from freezing. Focus on water lines in spaces like attics, basements, crawl spaces, and garages. Insulate both hot and cold water pipes – yes, even hot water pipes can freeze if the water isn’t flowing. If you live in a region with harsh winters, consider using pipe sleeves that are 1–2 inches thick for extra protection.
Another option is UL-listed heat tape or cables, which can be applied to vulnerable pipes. Pipe insulation is an affordable solution, often costing just a few dollars at your local hardware store.
Don’t overlook sealing gaps. Use caulk or spray foam to close cracks and holes near water pipes. Pay close attention to areas like sill plates (where the house frame meets the foundation), windows, doors, and spots where cables or pipes enter your home. These gaps can let cold air in, even if the rest of the house is heated.
"To prevent drafts, seal cracks and openings around windows and doors, and at sill plates, where the house rests on its foundation." – Consumer Reports
Keep Your Home Warm Enough
Maintaining an indoor temperature above 55°F can help prevent pipes from freezing. During extreme cold spells – when outdoor temperatures drop to 20°F or lower – take additional steps to protect your plumbing.
Open kitchen and bathroom cabinet doors to allow warm air to circulate around pipes located near exterior walls. Keep garage doors closed to protect water lines in those areas. And in particularly cold weather, let a faucet drip slightly to keep water moving and reduce pressure in the system.
Winterize Outdoor Plumbing
Before the first freeze, disconnect, drain, and store garden hoses. Water left in hoses can freeze and back up into your home’s plumbing, potentially causing damage. Shut off the indoor valve for outdoor faucets and open the faucets to drain any remaining water.
For sprinkler systems and swimming pools, follow the manufacturer’s instructions to drain the supply lines. Protect outdoor spigots and exposed pipes with foam covers or pipe sleeves. These inexpensive solutions can save you from costly repairs – fixing a burst pipe can average around $900.
| Winterization Task | Where to Do It | What to Do |
|---|---|---|
| Garden Hoses | Outdoor faucets | Disconnect, drain, and store indoors |
| Outdoor Faucets | Indoor valve & spigot | Shut off indoor valve, open faucet to drain |
| Sprinkler Lines | Underground systems | Drain as per manufacturer instructions |
| Exposed Pipes | Unheated areas | Wrap with foam sleeves or use heat tape |
Taking these steps can prevent significant water damage, which can sometimes cost over $5,000 to repair. By preparing ahead of time, you can help protect your plumbing throughout the winter months.
Conclusion
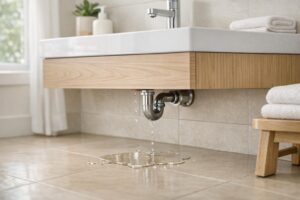
Frozen pipes can lead to serious damage if not addressed quickly. When pipes thaw, hidden cracks may allow water to rush out, causing significant harm to walls, ceilings, and floors.
The key is to recognize early warning signs – like a slow trickle from a faucet – and take immediate action. Turn off the main water valve and use safe methods to thaw the pipes. If the frozen section is out of reach or you notice a leak, it’s time to call in professionals. Acting promptly not only minimizes damage but also highlights the importance of taking preventative steps.
To avoid frozen pipes altogether, focus on preparation. Insulate exposed pipes, seal gaps that let in cold air, and keep indoor temperatures above 55°F. During particularly cold weather, simple actions like letting faucets drip or opening cabinet doors can make a big difference. These measures not only protect your home during freezing conditions but also save you from costly repairs down the road.
For those in Round Rock, help is always available. Round Rock Plumbing offers 24/7 emergency services to address water damage quickly. Their team uses advanced tools, such as thermal imaging, to locate and safely thaw frozen pipes. Whether you’re dealing with an emergency or want to prepare your plumbing system for winter, Round Rock Plumbing has the expertise you need. Visit roundrockplumbing.co or call anytime for assistance.
FAQs
Which pipes freeze first in a house?
Pipes located in uninsulated spaces – like exterior walls, attics, basements, or crawl spaces – are at the highest risk of freezing. Even small sections of exposed pipe can be particularly susceptible when temperatures drop.
How do I find the frozen spot if it’s behind a wall?
To find a frozen pipe behind a wall, start by checking faucets for reduced water flow – this can give you clues about the affected area. Look at exposed pipes for signs like frost, condensation, or bulging. Carefully use your hand to detect cold spots along the wall. For pipes you can’t see, tools like thermal cameras or infrared thermometers can be very useful. If you’re uncertain or worried about causing damage, it’s best to call a professional plumber to handle it safely.
Will my pipes leak after they thaw?
Yes, pipes can leak after thawing if freezing caused them to crack or burst. Once the ice melts, the damage can result in water leaks and potentially costly water damage. It’s important to carefully inspect your pipes after they thaw and fix any leaks right away to avoid more serious problems.