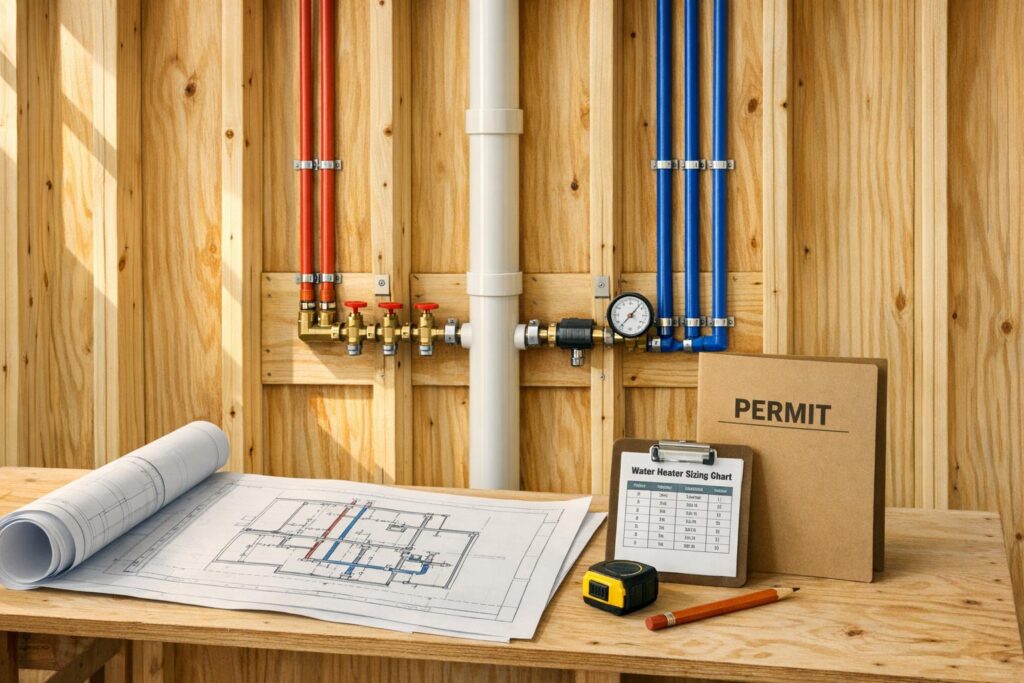
Planning plumbing for new construction is all about creating an efficient and reliable system that meets building codes and avoids costly mistakes. Here’s what you need to know:
- Start with Codes and Permits: Verify local regulations like IPC or UPC and secure permits before starting.
- Plan Efficient Layouts: Group kitchens and bathrooms to reduce pipe runs and costs. Ensure proper pipe slopes and structural safety.
- Choose Materials Wisely: Use materials like PEX, CPVC, or copper based on budget, water chemistry, and durability needs.
- Water Heater Placement: Size heaters based on demand and place them close to high-use fixtures for efficiency.
- Rough-In Installation: Install pipes and vents accurately, maintaining proper slopes and spacing.
- Pressure Tests: Check for leaks with water or air pressure tests before sealing walls.
- Fixture Installation: Add fixtures after walls and floors are complete, ensuring proper alignment and functionality.
Proper planning prevents issues like leaks, water damage, and code violations, saving time and money in the long run. Whether you’re building a home or a commercial space, following these steps ensures a long-lasting plumbing system.
The RIGHT Way to Plumb a New House (Most Skip This)
sbb-itb-5fe396b
Planning the Plumbing Layout

Plumbing Material Comparison Guide: Pipe Support Spacing Requirements
A well-thought-out plumbing layout is crucial for avoiding costly errors and maintaining the structural soundness of your project. This step involves carefully planning every water supply line, drainage pipe, and gas connection while ensuring compliance with local codes and protecting the building’s framework.
Understanding Building Codes and Permits
Plumbing systems must align with either the International Plumbing Code (IPC) or the Uniform Plumbing Code (UPC), depending on local jurisdiction. For residential projects, the International Residential Code (IRC) also applies. It’s essential to consult with licensed plumbers in Round Rock or your local Authority Having Jurisdiction (AHJ) to confirm which codes are in use and identify any local amendments to these standards.
A permit is required for all plumbing work, whether it involves new installations, upgrades, or removals. Permit applications typically include construction documents, plan reviews, and fee payments based on your jurisdiction’s schedule. Starting work without a permit can result in extra investigation fees in addition to the standard costs.
All materials must carry third-party certification marks (e.g., ICC-ES PMG) to confirm they meet safety benchmarks like NSF 14 for plastic components. Additionally, plumbing systems must connect to either a public sewer or an approved private sewage system. Concealed pipes should be tested under specific pressure standards: a 10-foot head of water for water tests, 5 psi for air tests on drainage systems, and 50 psi for water supply lines.
Once these requirements are understood, you can begin mapping your water supply and drainage systems.
Mapping Out Water Supply and Drainage Systems
To save on costs, group bathrooms and kitchens together to minimize the length of pipe runs. When routing pipes through structural elements, follow strict guidelines: holes in studs should not exceed 40% of their depth (60% for non-bearing walls), and notches in joists should be no deeper than one-sixth of their depth.
"Plumbing shall be installed with due regard to preservation of the strength of structural members and prevention of damage to walls and other surfaces through fixture usage."
- 2024 International Plumbing Code
For foundation safety, trenches running parallel to footings must not extend below the 45-degree bearing plane from the footing’s bottom edge. Pipes passing through concrete foundations should use sleeves that are two sizes larger than the pipe to allow for movement. Water supply pipes need to be installed at least 6 inches below the frost line and 12 inches below grade.
Plan the layout with accessibility in mind. Include cleanouts for clearing blockages and ensure there’s enough space around components like water heaters, backflow preventers, and air admittance valves. Fixtures like water closets require at least 15 inches of clearance from the center to any side wall and 21 inches of clearance in front. Travel distance to toilet facilities should not exceed 500 feet in most buildings (300 feet in malls).
Proper support for piping is also critical. Use the following intervals for horizontal and vertical spacing:
| Piping Material | Maximum Horizontal Spacing | Maximum Vertical Spacing |
|---|---|---|
| ABS pipe | 4 feet | 10 feet |
| Cast-iron pipe | 5 feet | 15 feet |
| Copper tubing (1.25" or smaller) | 6 feet | 10 feet |
| PEX (1" and smaller) | 32 inches | 10 feet |
| PVC pipe | 4 feet | 10 feet |
| Steel pipe | 12 feet | 15 feet |
With the water and drainage systems mapped out, the next step is to focus on routing gas lines safely.
Planning Gas Line Placement
Gas piping must never pass through elevator shafts or equipment rooms. When routing gas lines through framing members, follow the same boring and notching limits as water supply lines. If the pipes are less than 1.5 inches from the edge of studs or joists, install No. 16 gauge steel shield plates (0.0575-inch thick) extending at least 2 inches above the sole plates and below the top plates.
For pipes penetrating a foundation, it’s best to install sleeves during the initial pour rather than drilling later. This ensures proper sizing and protects the structure. Metallic gas piping in contact with corrosive soil should have at least 8-mil thick plastic sheathing. In areas with expansive soil, flexible expansion joints should be installed where gas lines transition between the building and buried conditions to prevent damage.
When backfilling around buried gas lines, use clean fill material in 6-inch layers, tamping it down until the pipe crown is covered by at least 12 inches of earth. Seal any openings where pipes pass through walls or floors with caulking or gasketing to block rodent entry. If manufacturer instructions conflict with local code, always follow the stricter guideline.
Selecting Materials for Water Supply, Drainage, and Gas Lines
Once your layout is finalized, the next step is picking the right materials for each part of your plumbing system. The materials you choose will play a big role in ensuring a dependable system that aligns with your design. Different materials come with their own advantages, depending on factors like water chemistry, budget, and how they’re installed.
Choosing Pipes and Fittings
Copper stands out for its durability and ability to handle heat, but it comes at a cost – around $300 per 100 feet. It’s recyclable and performs well under high temperatures, but its high price and the risk of theft can make it less appealing for some projects. PEX (Cross-Linked Polyethylene) is a flexible option that resists freezing and is moderately priced. However, it doesn’t hold up well under UV exposure or in water over 140°F, and it struggles with pressures above 80 psig. Michael Tobias has called PEX pipes "one of the biggest innovations in plumbing", emphasizing their flexibility.
CPVC (Chlorinated Polyvinyl Chloride) is a budget-friendly alternative that handles chlorine-based corrosion better than copper or PEX. Jonathan Simon, North American Residential Plumbing Manager at Lubrizol Advanced Materials Inc., explains, "CPVC is the only plumbing material that is 100 percent immune to degradation or corrosion from chlorine, chloramines, and chlorine dioxide in drinking water". CPVC can be installed about 15% faster in trunk-and-branch layouts, while PEX is about 10% faster in mini-manifold designs. When it comes to drainage systems, PVC is the most economical choice, performing well in cold water applications. However, it can’t handle temperatures above 140°F. ABS offers similar benefits to PVC but may not meet code requirements in all areas. For drainage pipes running through living spaces, cast iron is worth considering because it dampens noise much better than plastic options.
Your choice of materials should match your water supply conditions. For example, if your municipal water contains high levels of chlorine or chloramine, CPVC can avoid the corrosion issues that copper and PEX might face. For high-flow fixtures like luxury showers, socket-style fittings used in copper and CPVC systems are a better choice, as PEX insert fittings can cause pressure drops up to six times greater. Regardless of the material, aim to minimize pipe lengths and fittings to improve efficiency.
Now, let’s look at materials for gas lines.
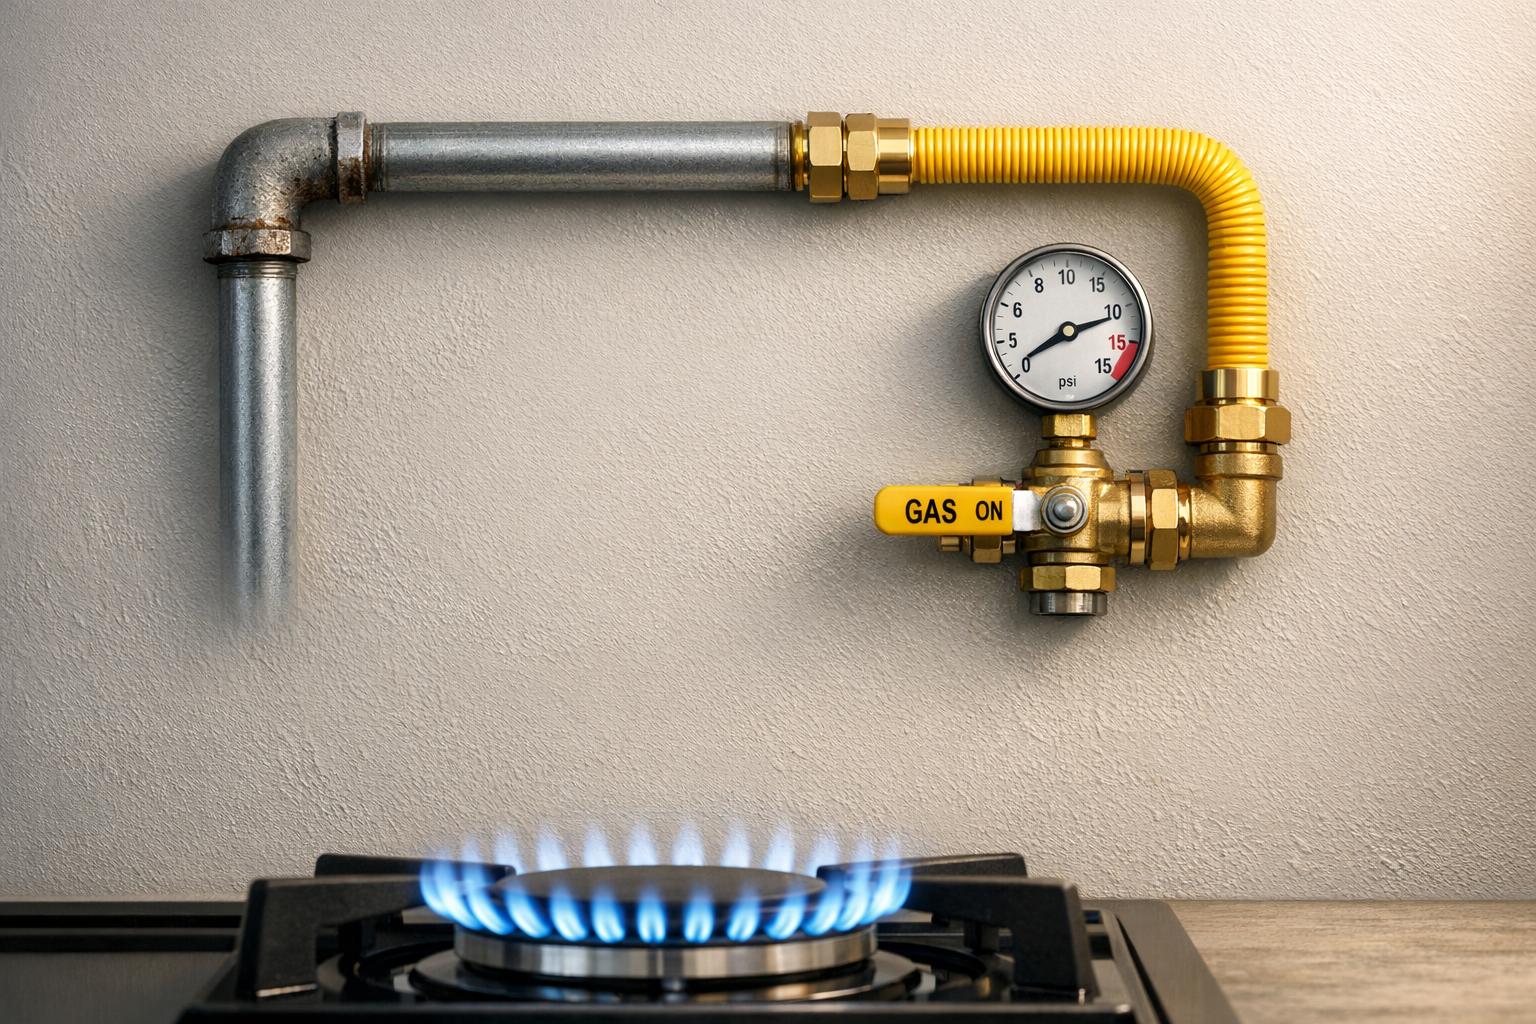
Selecting Gas Line Materials
Choosing materials for gas lines requires extra care to ensure safety. Key factors include resistance to combustibility, permeation, and fire risks. It’s also essential to pick materials that resist corrosion and degradation, while making sure they meet local building codes and industry standards. The type of fittings matters too – socket-style fittings in rigid systems generally cause smaller pressure drops compared to insert-style fittings in flexible systems. For buildings with complex layouts, flexible tubing can simplify installation by allowing wide-radius turns without adding multiple joints. However, if any part of the tubing is exposed outdoors, it must be shielded from UV light to prevent damage.
Designing Water Heater Placement and Capacity
After selecting materials, the next step is planning your water heater’s capacity and placement to finalize your plumbing design. Getting this right ensures efficient energy use and meets your household’s hot water needs. As Mark Fasel explains:
"Water heater sizing and placement are not just code checkboxes; they are foundational to the safety, efficiency and reliability of a building plumbing system".
Determining Hot Water Needs
Start by calculating your peak one-hour hot water demand. For storage and heat pump water heaters, focus on the First Hour Rating (FHR) – this tells you how many gallons of hot water the unit can deliver in the first hour starting with a full tank. You’ll find the FHR in the top left corner of the EnergyGuide label. Keep in mind that a 50-gallon storage heater typically provides only about 40 gallons of usable hot water before the temperature drops due to cold-water mixing.
For tankless water heaters, the sizing process is different. You’ll need to calculate the combined flow rate in gallons per minute (GPM) for fixtures that might be used at the same time. For instance, if a shower (2.5 GPM) and a bathroom faucet (0.75 GPM) are running simultaneously, you’ll need a unit rated for at least 3.25 GPM. Additionally, consider the required temperature rise – the difference between the incoming water temperature and the desired output temperature. In colder areas, this larger temperature rise can reduce the effective flow rate of tankless systems.
Once you’ve calculated your peak demand, you can choose the water heater type that matches your needs.
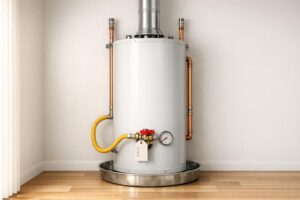
Choosing the Right Water Heater Type
Deciding between a tank or tankless water heater comes down to your usage patterns and budget. Tank water heaters are more affordable upfront, with units priced between $300 and $2,000, plus $500 to $1,000 for installation. They’re great for households where multiple fixtures are used at the same time, but their capacity is limited by tank size. Once the hot water runs out, you’ll need to wait for the tank to refill and reheat. These units typically last 6 to 12 years.
On the other hand, tankless water heaters have a higher initial cost – units range from $1,000 to $3,000, with installation costs up to $1,500. However, they provide endless hot water and can last up to 20 years. Their compact design allows them to be wall-mounted or installed outdoors, saving space. Plus, because they heat water on demand, they eliminate standby heat loss, making them more energy-efficient.
| Feature | Tank Water Heater | Tankless Water Heater |
|---|---|---|
| Initial Cost | $800–$3,000 total | $2,000–$4,500+ total |
| Hot Water Supply | Finite (limited by tank size) | Continuous (unlimited) |
| Simultaneous Use | Excellent for multiple fixtures | May need multiple units for high demand |
| Energy Cost | Higher (standby heat loss) | Lower (on-demand heating) |
| Lifespan | 6–12 years | Up to 20 years |
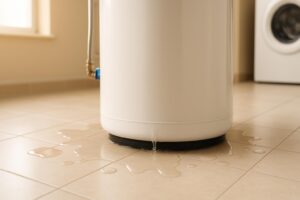
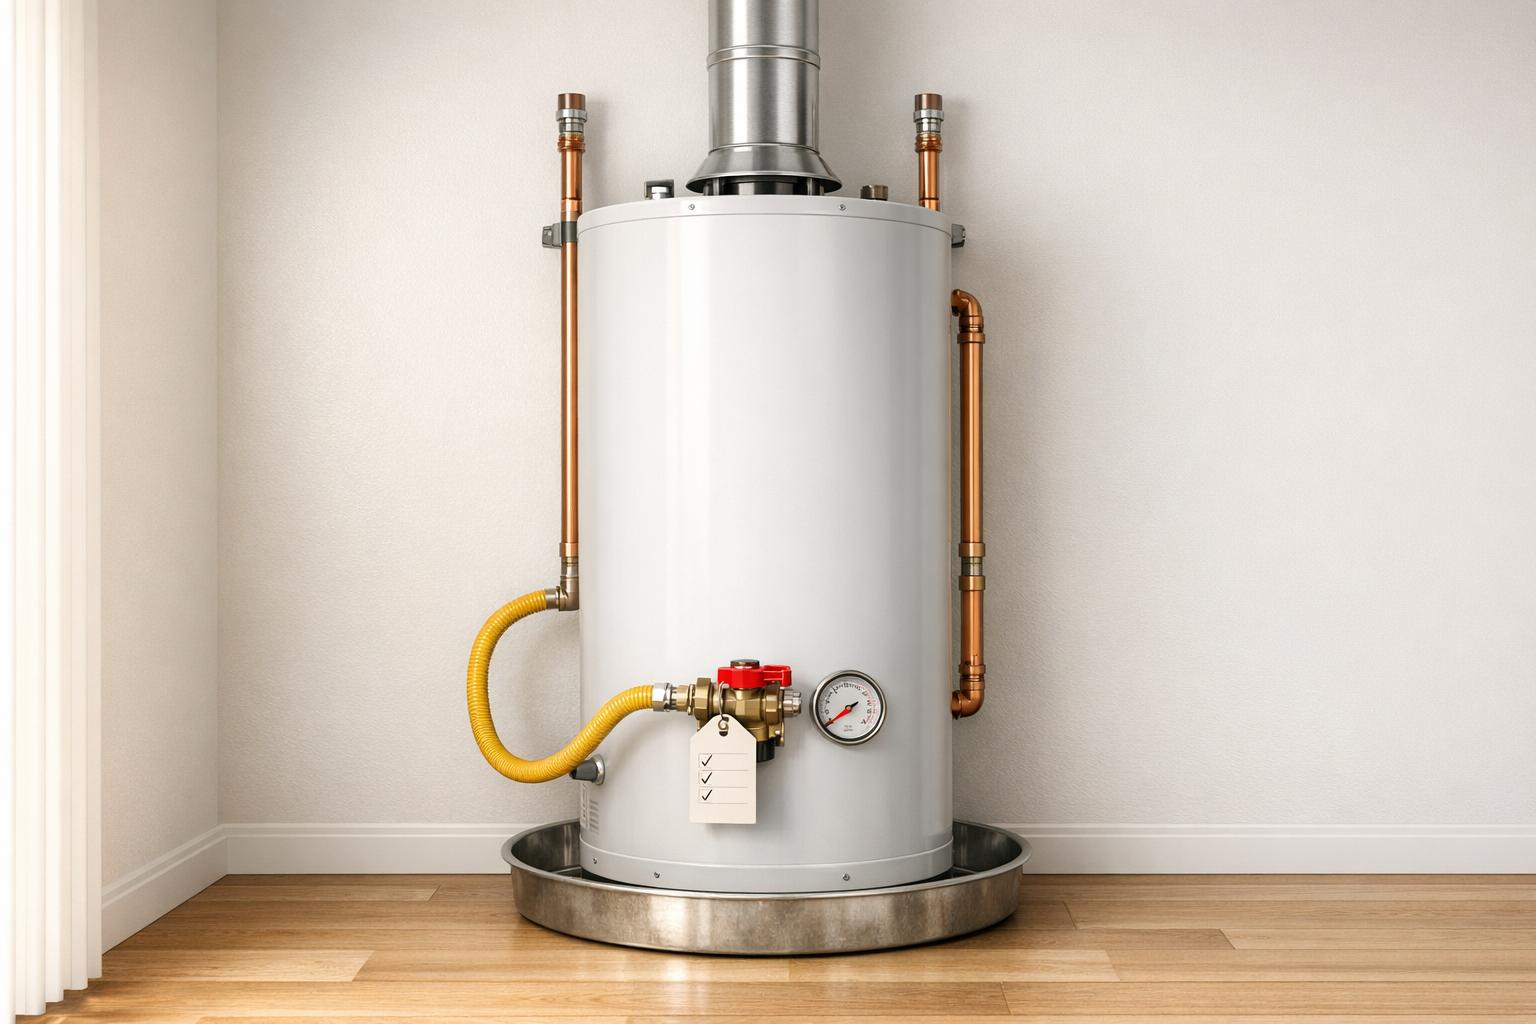
Positioning Water Heaters
Once you’ve determined the right capacity, proper placement is key to ensuring efficiency and compliance with codes. The International Plumbing Code (IPC) requires at least 30 inches by 30 inches of working space in front of the water heater’s control side for maintenance. Installation in storage closets or bedrooms is generally prohibited unless the unit is enclosed in a sealed compartment. For garage installations, units with ignition sources must be elevated at least 18 inches above the floor unless they are Flammable Vapor Ignition Resistant (FVIR) certified.
Positioning the water heater in conditioned, insulated spaces helps minimize heat loss and saves energy. Units installed in unconditioned areas, like garages or basements, lose heat faster, leading to wasted energy. To reduce wait times and water waste, place the heater close to high-demand fixtures. The IPC limits hot and tempered water piping runs to 50 feet, while the International Energy Conservation Code (IECC) may impose stricter limits of 4 feet for pipes that are two inches or larger. Also, ensure the location allows for proper venting (for gas units) and enough space to replace the unit when needed. In areas where leaks could cause damage, install a catch pan with a proper drain termination.
Next, we’ll dive into rough-in installation techniques to ensure optimal system performance.
Rough-In Installation for Pipes and Vents
With your layout planned, the rough-in stage is where precision takes center stage. This phase involves installing pipes and vents before sealing walls and floors, laying the groundwork for a reliable plumbing system. Accuracy is key here, and plumbers rely on three key drawings during this process: Architectural (basic layout), MEP (details on pipe sizes and venting), and Foundation/Silhouette (pinpointing slab penetration locations). Before cutting or drilling, mark centerlines and fixture locations on the decking or framing [26, 27]. These markings ensure everything is positioned correctly as you move forward.
Installing Pipes for Water Supply and Drainage
Start with the drainage pipes, ensuring they are sloped correctly to prevent clogs. For pipes 2.5 inches or smaller, the standard slope is a 1/4-inch drop per foot of horizontal pipe. For pipes 3 inches or larger, reduce the slope to 1/8-inch per foot [26, 27, 28]. As Harvey Adams from Adams Plumbing & Heating advises:
"Regardless of how you learned to do the rough-in plumbing work, you should study local codes and assure your work is compliant".
When drilling through framing, use a hole saw that’s 1/8-inch larger than the pipe diameter to allow for adjustments. For toilets, position the rough-in at 13 inches from the back wall to account for baseboards or drywall. In kitchens, set the drain trap 8 inches off-center from the garbage disposal and place water lines 20 inches above the floor. To maintain slope and prevent sagging, strap horizontal pipes every 4 feet.
Safety is also a priority. Water supply lines must be at least 12 inches above or 12 inches horizontally away from sewer lines in the same trench to avoid cross-contamination. Once the water supply and drainage pipes are in place, the next step is venting.
Installing Vent Pipes for Drainage
Vent pipes are essential for airflow in the drainage system, preventing sewer gas buildup and clogs. Their placement is critical – vent pipes should never exit from the side of a drainpipe, as waste could block the vent [31, 32]. Instead, they must connect above the horizontal drain’s centerline. For toilets, the vent takeoff must be at least 45 degrees above the drain’s horizontal cross-section.
Dry vents need to rise vertically at least 6 inches above the flood level rim of the highest fixture they serve before transitioning to a horizontal run [31, 32]. To ensure proper drainage of moisture back into the system, vent pipes should have an upward pitch of at least 1/4 inch per foot [26, 31]. As Harvey Adams explains:
"All piping in a Drain-Vent-Waste (DVW) system must be ‘washed,’ meaning that it will have adequate fall to ensure moisture cannot accumulate anywhere in the system".
Support vent pipes every 4 feet horizontally with hangers to avoid sagging. Vent pipes must extend through the roof, terminating at least 6 inches above the surface and 3 feet above windows or skylights. In colder regions, use 2–3 inch diameter penetrations to prevent frost from blocking the vents [26, 31, 32]. To avoid confusion during inspections, label multiple pipe risers during the rough-in phase.
| Size of Trap (inches) | Slope (inch per foot) | Max Distance from Trap to Vent (feet) |
|---|---|---|
| 1 1/4 | 1/4 | 5 |
| 1 1/2 | 1/4 | 6 |
| 2 | 1/4 | 8 |
| 3 | 1/8 | 12 |
| 4 | 1/8 | 16 |
Once all pipes and vents are installed, perform pressure testing to ensure everything is leak-free before sealing up the walls.
Pressure Testing and Fixture Integration
After finishing the rough-in installation, the next step is ensuring your plumbing system is leak-free and prepared for fixture installation.
Conducting Pressure Tests
Once the rough-in is complete, the plumbing system’s integrity must be verified through pressure tests. For drain, waste, and vent (DWV) systems, the testing method depends on the pipe material: water, air (only for non-plastic pipes), or vacuum (for plastic pipes). The most common approach involves filling the system with water to a level at least 10 feet above the highest fitting connection and maintaining this pressure for 15 minutes.
For water supply systems, testing is done at working pressure for 15 minutes or with 50 psi of air pressure for non-plastic systems. During these tests, isolate expansion tanks and any sensitive equipment to avoid potential damage. Use a properly calibrated test gauge, with increments based on the pressure: 0.10 psi for tests under 10 psi, 1 psi for tests up to 100 psi, and 2 psi for tests exceeding 100 psi.
Do not use compressed air or gas to test plastic (PVC or ABS) drainage and vent pipes due to the risk of explosive failure. For plastic systems, opt for a vacuum test that reaches -5 psi or a negative 10 inches of mercury. Before starting any test, inspect the entire piping system to confirm that high-point vents and low-point drains are present and functioning. Wes Edmiston, Director of Product & Industry Strategy at Cumulus Digital Systems, highlights the importance of timing:
"If water sits in a system for too long, it can cause corrosion. In certain climates, the test medium could even sit in a line long enough to freeze".
Installing Plumbing Fixtures
After confirming the system is leak-free, you can move on to fixture installation. This step should only begin once walls are closed, painting is complete, and flooring or cabinetry is in place. Starting too early risks damaging the fixtures during ongoing construction. The installation process is fairly straightforward: mount the fixture, connect it to the water supply stub-outs using flexible supply lines, and attach it to the drain system with P-traps.
For toilets, secure the closet flange to the floor, position the wax ring on the flange, and carefully lower the bowl to prevent rocking. Tighten the nuts evenly, alternating sides, until snug – over-tightening can crack the porcelain. Sinks require a bead of silicone caulk under the lip before placing them into countertops, and a basin wrench is essential for tightening mounting nuts in tight spots. When installing showerheads, wrap Teflon tape clockwise around the shower arm threads before attaching the head.
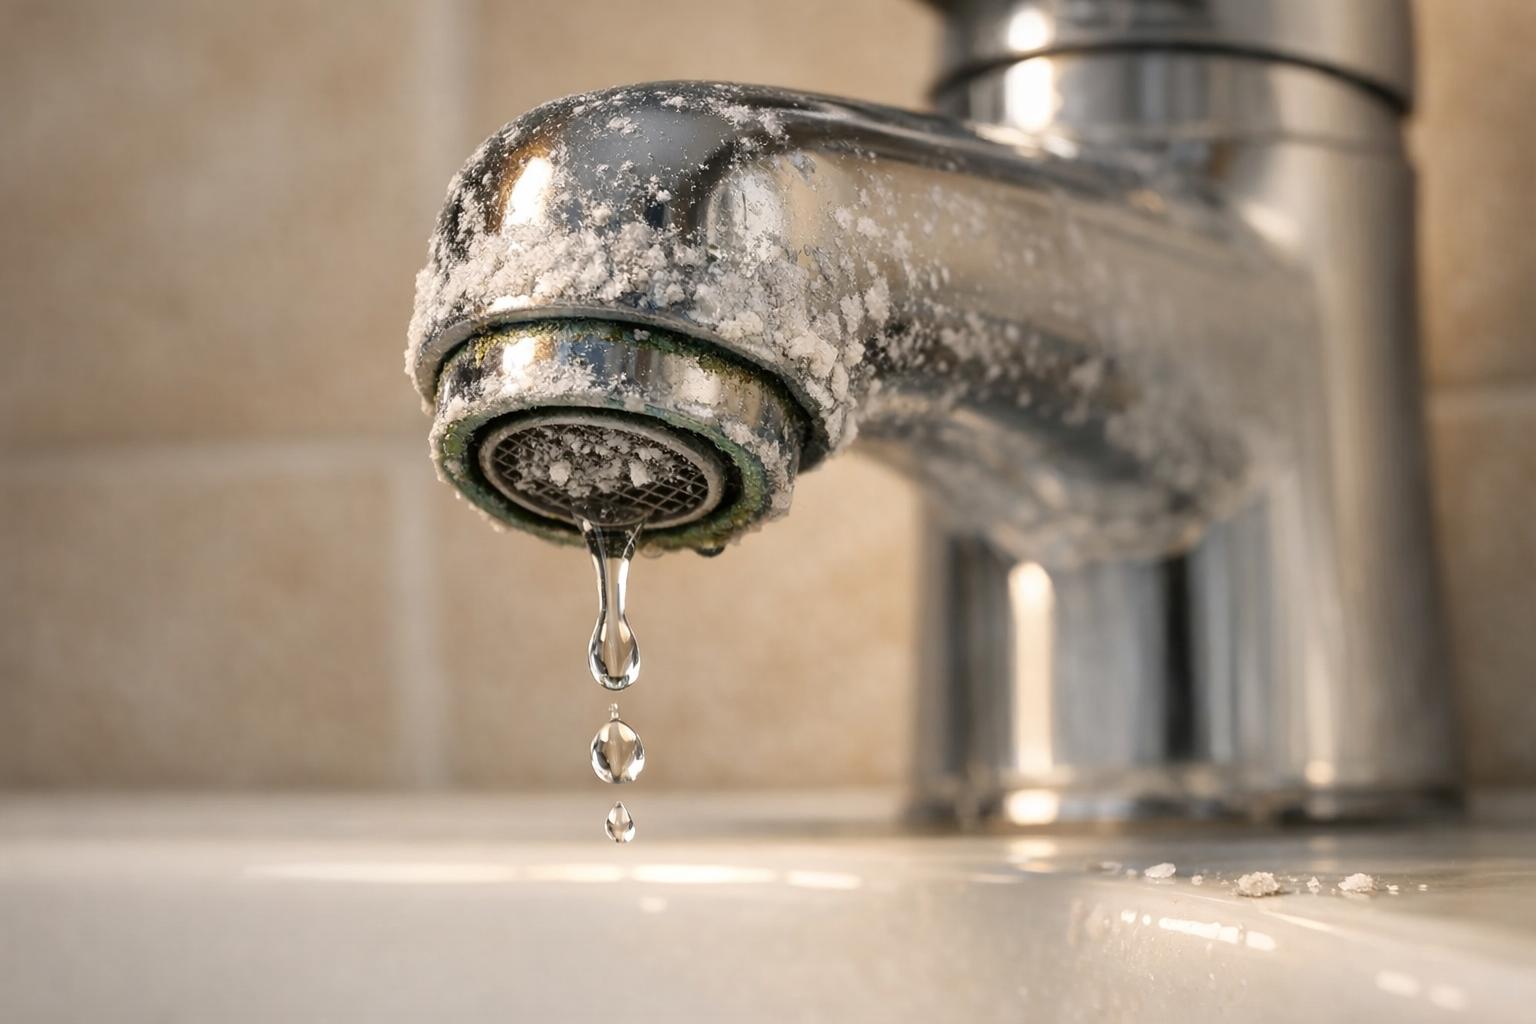
Once all fixtures are installed, slowly turn on the water supply and test each faucet, toilet, and shower to ensure proper water pressure, consistent temperature, and efficient drainage. Residential water pressure should remain between 40 and 60 psi – anything above 60 psi risks damaging pipes and appliances, while pressure below 40 psi may cause appliances to malfunction.
Conclusion
With pressure testing complete and fixtures installed, your plumbing system is set up to provide dependable performance for years to come. Building a reliable plumbing system in new construction hinges on careful planning and execution at every stage – from the initial design to the final inspection.
Expert input is crucial throughout the process. Whether it’s mapping out wet walls, ensuring proper drainage slopes, or working alongside framers and electricians, skilled plumbers play a key role. As Plumbing Concepts puts it:
"The plumber is often one of the first trades to arrive on the dirt to dig trenches, and they are one of the last to leave after testing the hot water for the new owners. If the plumbing isn’t right, the house isn’t livable".
Thoughtful planning doesn’t just ensure functionality – it also saves money. Strategies like grouping fixtures to share wet walls, maintaining correct slopes, and planning for potential future upgrades during the construction phase help avoid expensive fixes later while keeping everything up to code.
For those tackling new construction projects in Round Rock, Texas, Round Rock Plumbing provides a full range of services, including new construction plumbing, water heater installation, gas line repair, and advanced diagnostics. Their licensed team ensures compliance with all codes, conducts thorough pressure tests, and works seamlessly with other trades to deliver plumbing systems built to last. By choosing experienced professionals like Round Rock Plumbing, you can trust that every detail, from design to installation, is handled with precision.
FAQs
What plumbing work needs a permit in new construction?
In new construction, plumbing work often requires a permit, particularly for major installations or modifications such as water heaters, drainage systems, or gas lines. These permits are crucial because they ensure the work adheres to local safety and building codes. To stay compliant and safe, always verify your area’s specific regulations to determine which plumbing tasks need permits.
How do I plan a layout that reduces pipe runs and still meets code?
To cut down on pipe runs while staying compliant with building codes, focus on creating a core plumbing layout. This means placing water-using fixtures like the kitchen, bathrooms, and laundry room close to the water heater. Doing so not only reduces the amount of hot water piping needed but also helps save energy and delivers hot water faster to the taps.
You might also want to look into a demand plumbing system, which uses short branches or recirculation lines to minimize pipe lengths even further. Just make sure to follow local building codes and consult with professionals to ensure the design works efficiently and meets all requirements.
How do I size and place a water heater for the shortest hot-water wait time?
To cut down on the wait time for hot water, the key is to shorten the distance and reduce the water volume between the heater and your fixtures. Positioning the water heater in a central location is a smart start. Pair that with a core or manifold piping layout for shorter, more direct routes to faucets and showers. Make sure the heater is sized appropriately to handle your household’s water needs. For an extra boost in efficiency, consider installing a demand recirculation system with short loops. These strategies work together to deliver hot water faster, especially in new construction projects.